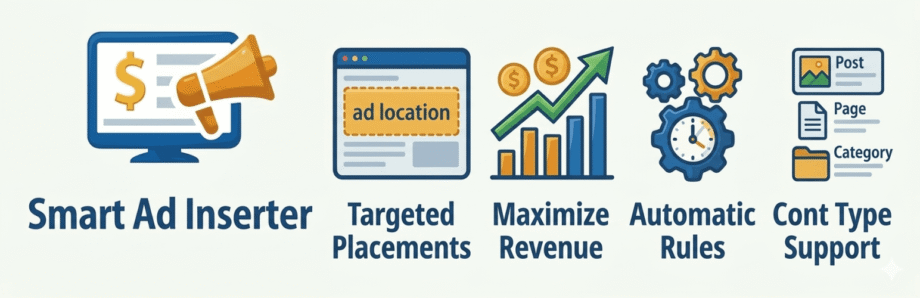
Smart Ad Inserter By KentDevTools Version 1.0.0
- Initial Release Date: March 20, 2026
- Core Ad Insertion Features:
- Automated Injection: Insert ads automatically after a specific number of paragraphs or at the top/bottom of posts.
- Advanced Target Options: Ability to target specific post types, categories, or individual post IDs.
- Shortcode Support: Use
[smart_ad]to place ads manually anywhere in your content. - Custom CSS Styling: Dedicated field in settings to add custom styles to ad containers.
- Compliance & Standards:
- AdSense Ready: Optimized for Google AdSense and other third-party script providers.
- WordPress.org Compliant: Built using GPL-2.0-or-later standards, proper nonces, and full data sanitization.
- Technical Improvements:
- Multisite Cleanup: Includes a clean uninstall process with full database cleanup for multisite environments.
- Translation Ready: Includes a full
.potfile in the/languages/directory for easy localization. - Modern UI: Features a professional admin interface with Plus Jakarta Sans typography.
- Automatic Updates: Delivered directly through the WordPress plugin update system.
Ad Configuration — Smart Ad Inserter By KentDevTools
Configuration Options
When creating or editing an ad in Smart Ads → Add New Ad, you have several fields to customize how and where the ad unit functions:
- Ad Code: The primary area to paste your HTML, JavaScript, or plain text ad. It is fully compatible with AdSense
<ins>tags and script snippets. - Ad Position: A dropdown menu to select the specific location for the ad (e.g., After X Paragraphs, Before Content, Top of Site).
- Paragraph Number: If “After X Paragraphs” is selected, this field defines exactly which paragraph the ad follows.
- Targeting: Checkboxes to select which post types (Posts, Pages, etc.) will display the ad.
- Device Visibility: Choose to show the ad on All Devices, Desktop Only, or Mobile Only.
- Sticky / Floating Ad: A checkbox that, when enabled, transforms the ad into a fixed bar that stays on the screen as the user scrolls.
- Sticky Bar Position: If the Sticky option is active, you can choose between Top of screen or Bottom of screen.
AdSense Integration Example
To use Google AdSense, copy the entire snippet provided in your AdSense dashboard and paste it into the Ad Code field. It should look similar to this:
HTML
<ins class="adsbygoogle"
     style="display:block"
     data-ad-client="ca-pub-XXXXXXXXXX"
     data-ad-slot="XXXXXXXXXX"
     data-ad-format="auto"
     data-full-width-responsive="true"></ins>
<script>
     (adsbygoogle = window.adsbygoogle || []).push({});
</script>
Best Practices
- Naming: Use clear titles like “Mobile-Sticky-Footer” to manage multiple ads easily.
- Testing: Use the Preview function or visit a live post to ensure the ad is appearing in the desired location without breaking the layout.
- Responsive Ads: For most positions, using the “Responsive” ad format in AdSense is recommended as it will automatically adjust to the container width.